This year, most families are looking to reunite with their loved ones. Most are also looking for cost-efficient ways to make this happen. For this reason, Wepah decided to solve part of this problem by creating a DIY (do it yourself) guide for a Christmas Garland.
With this, not only will you have a unique adornment, but you’ll also be able to brag about your creative skills. For this guide, the Wepah team chose red for the color-loving fans and white for the neutral lovers. Let’s take a look at how Wepah created these wonderful garlands!
Step 1: Materials.
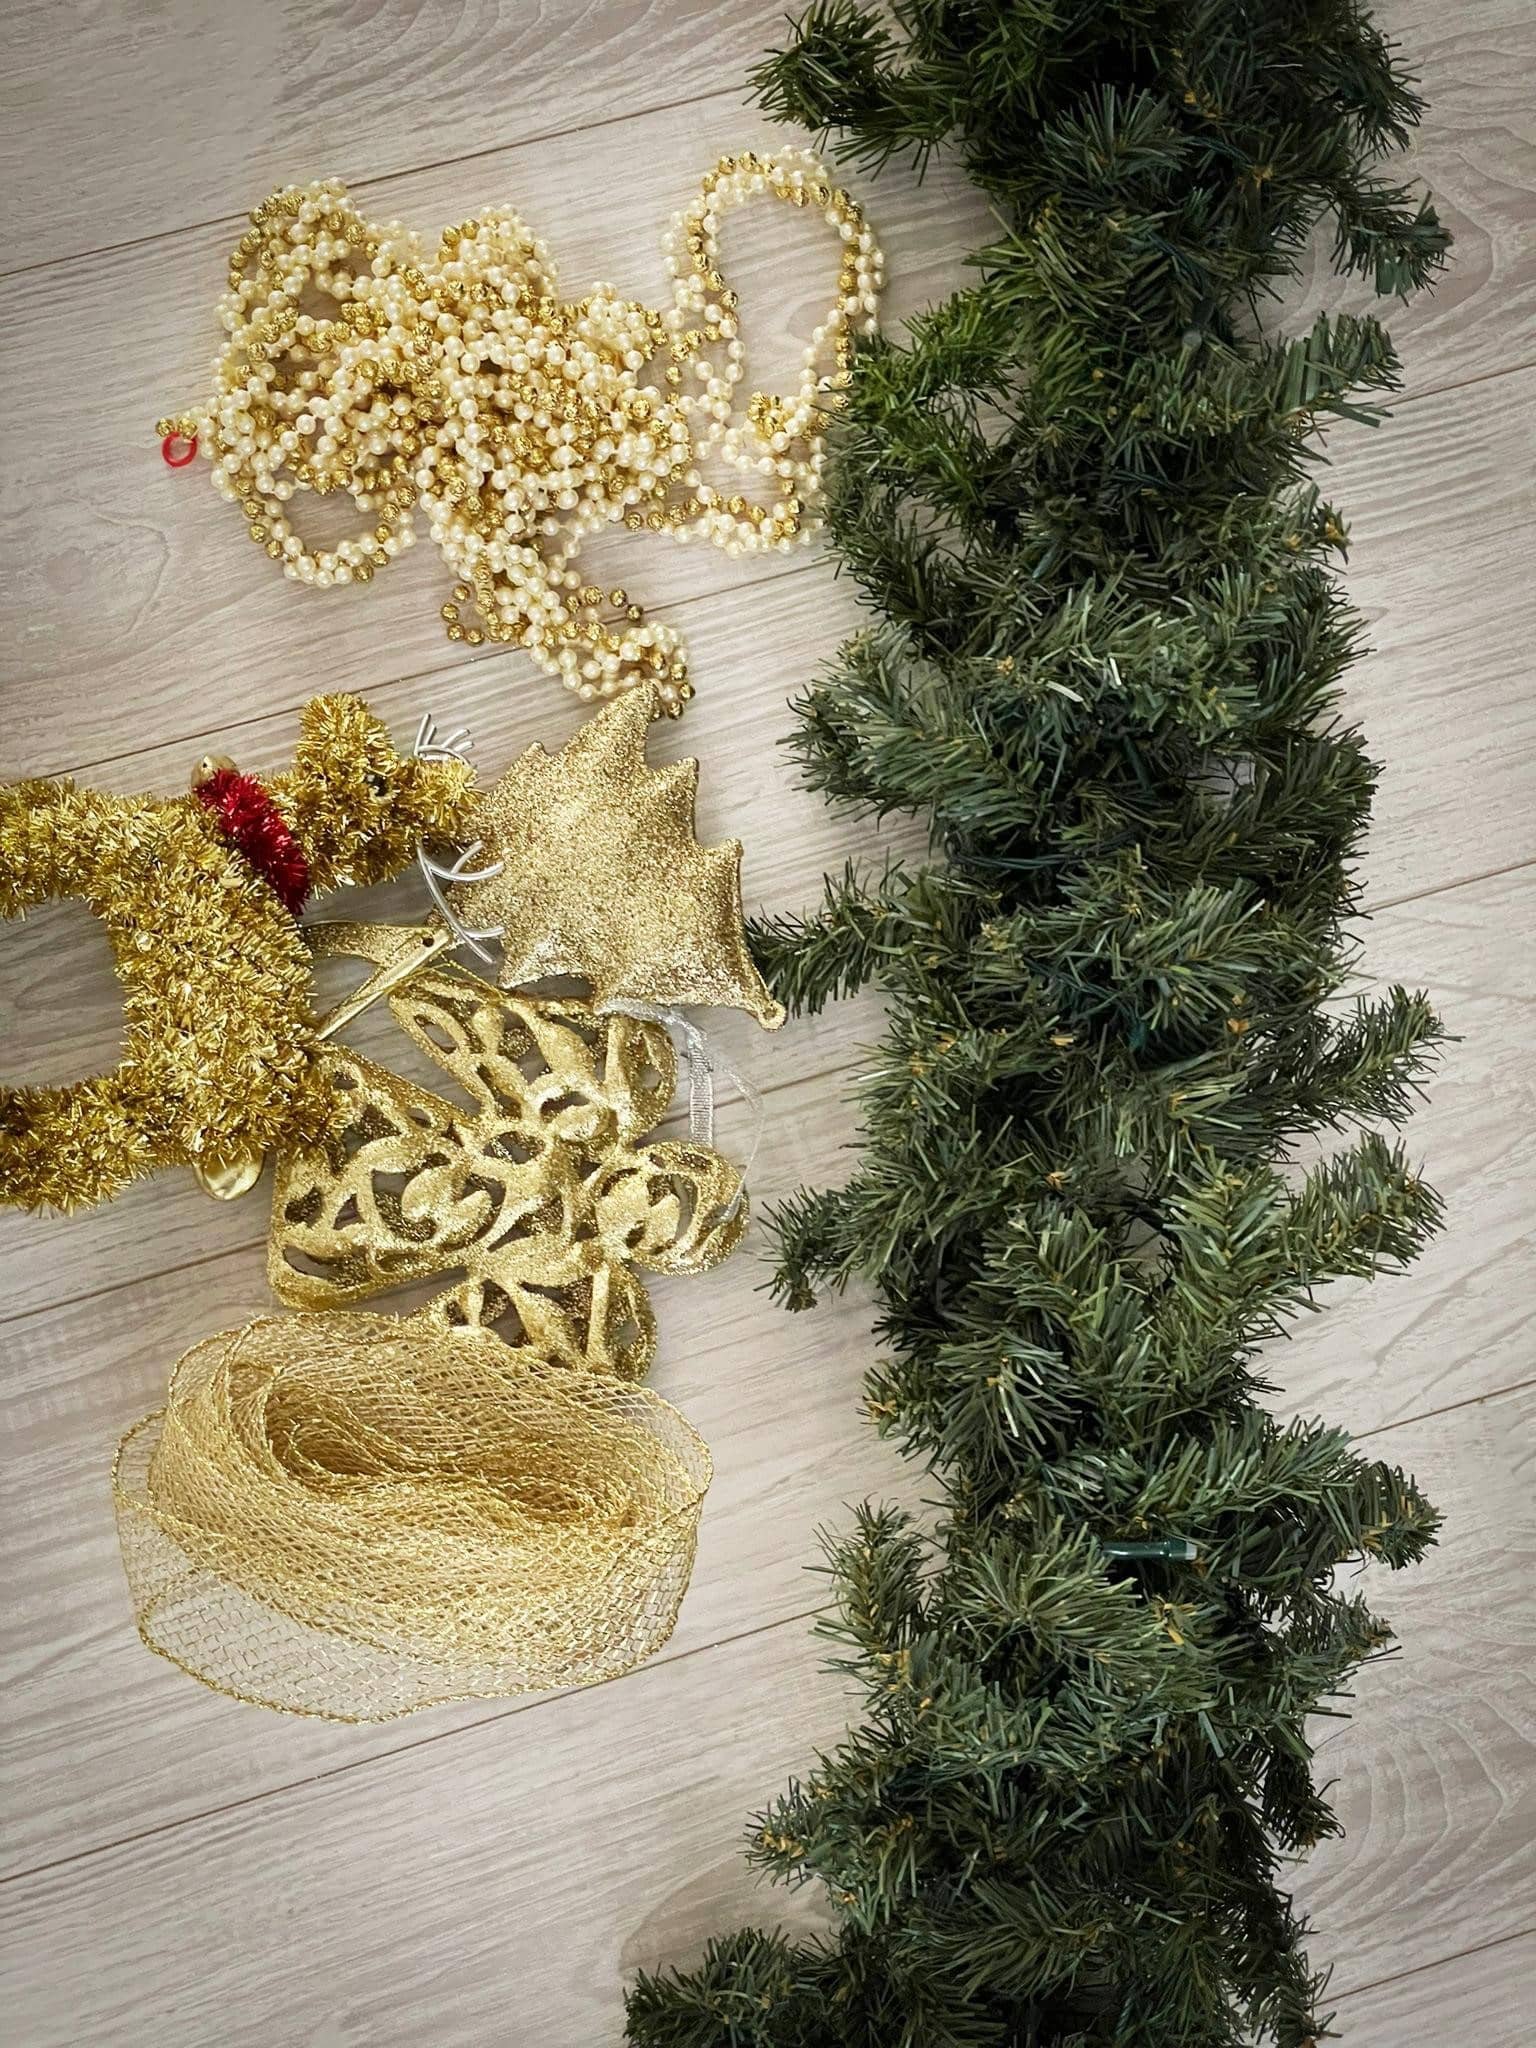
To bring this project to life, you will need:
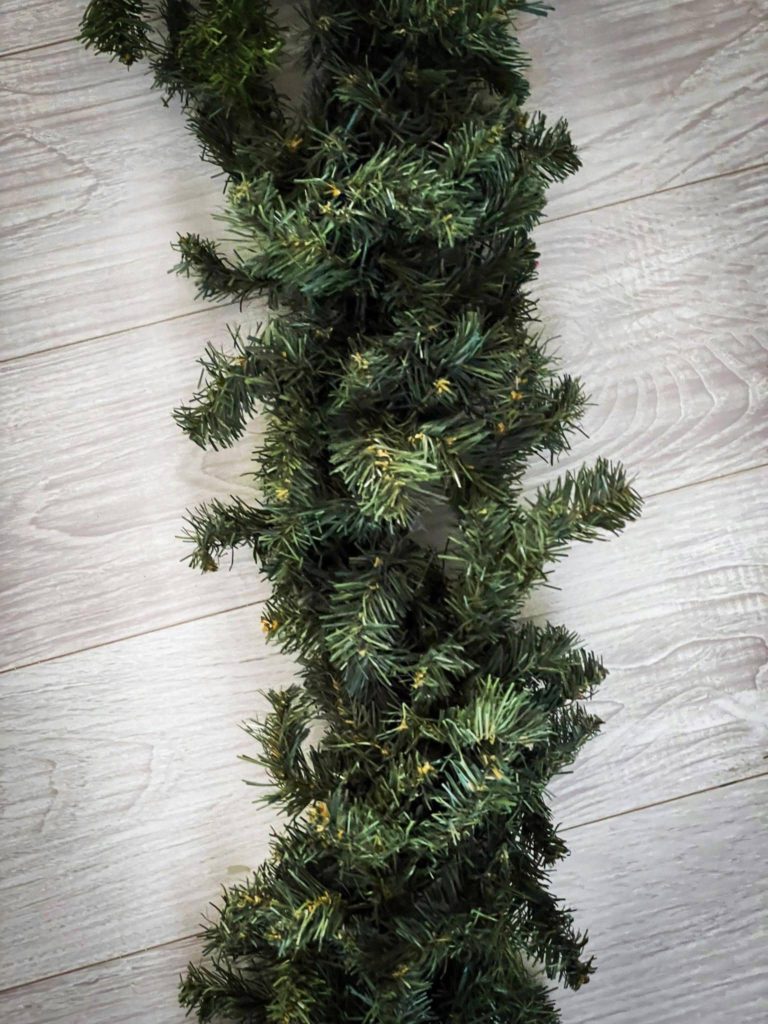
- 1 natural or artificial pine garland of your preferred length (artificial ones are usually less expensive and you can reuse it next year!).
- Twist ties (preferably green colored).
- Fabric ribbon of your desired color (Wepah chose iridescent white and metallic gold).
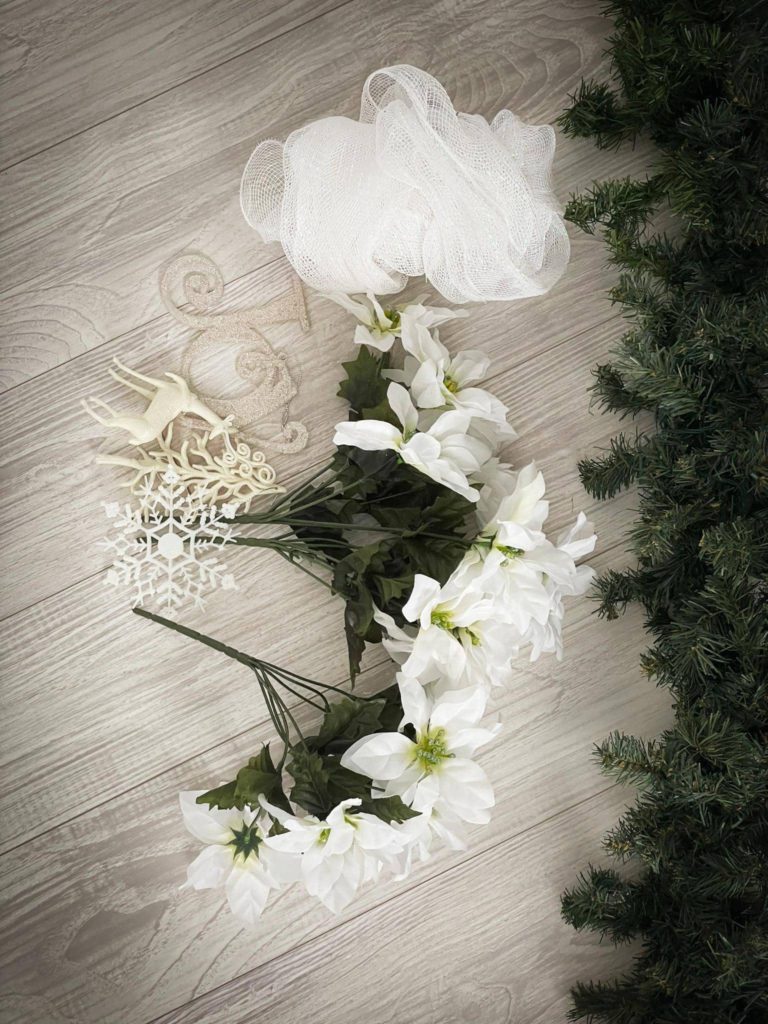
- Christmas flowers (poinsettias), in your color of preference.
- Any other Christmas adornment (Wepah chose: mini reindeers, stuffed pines, beads, and snowflakes).
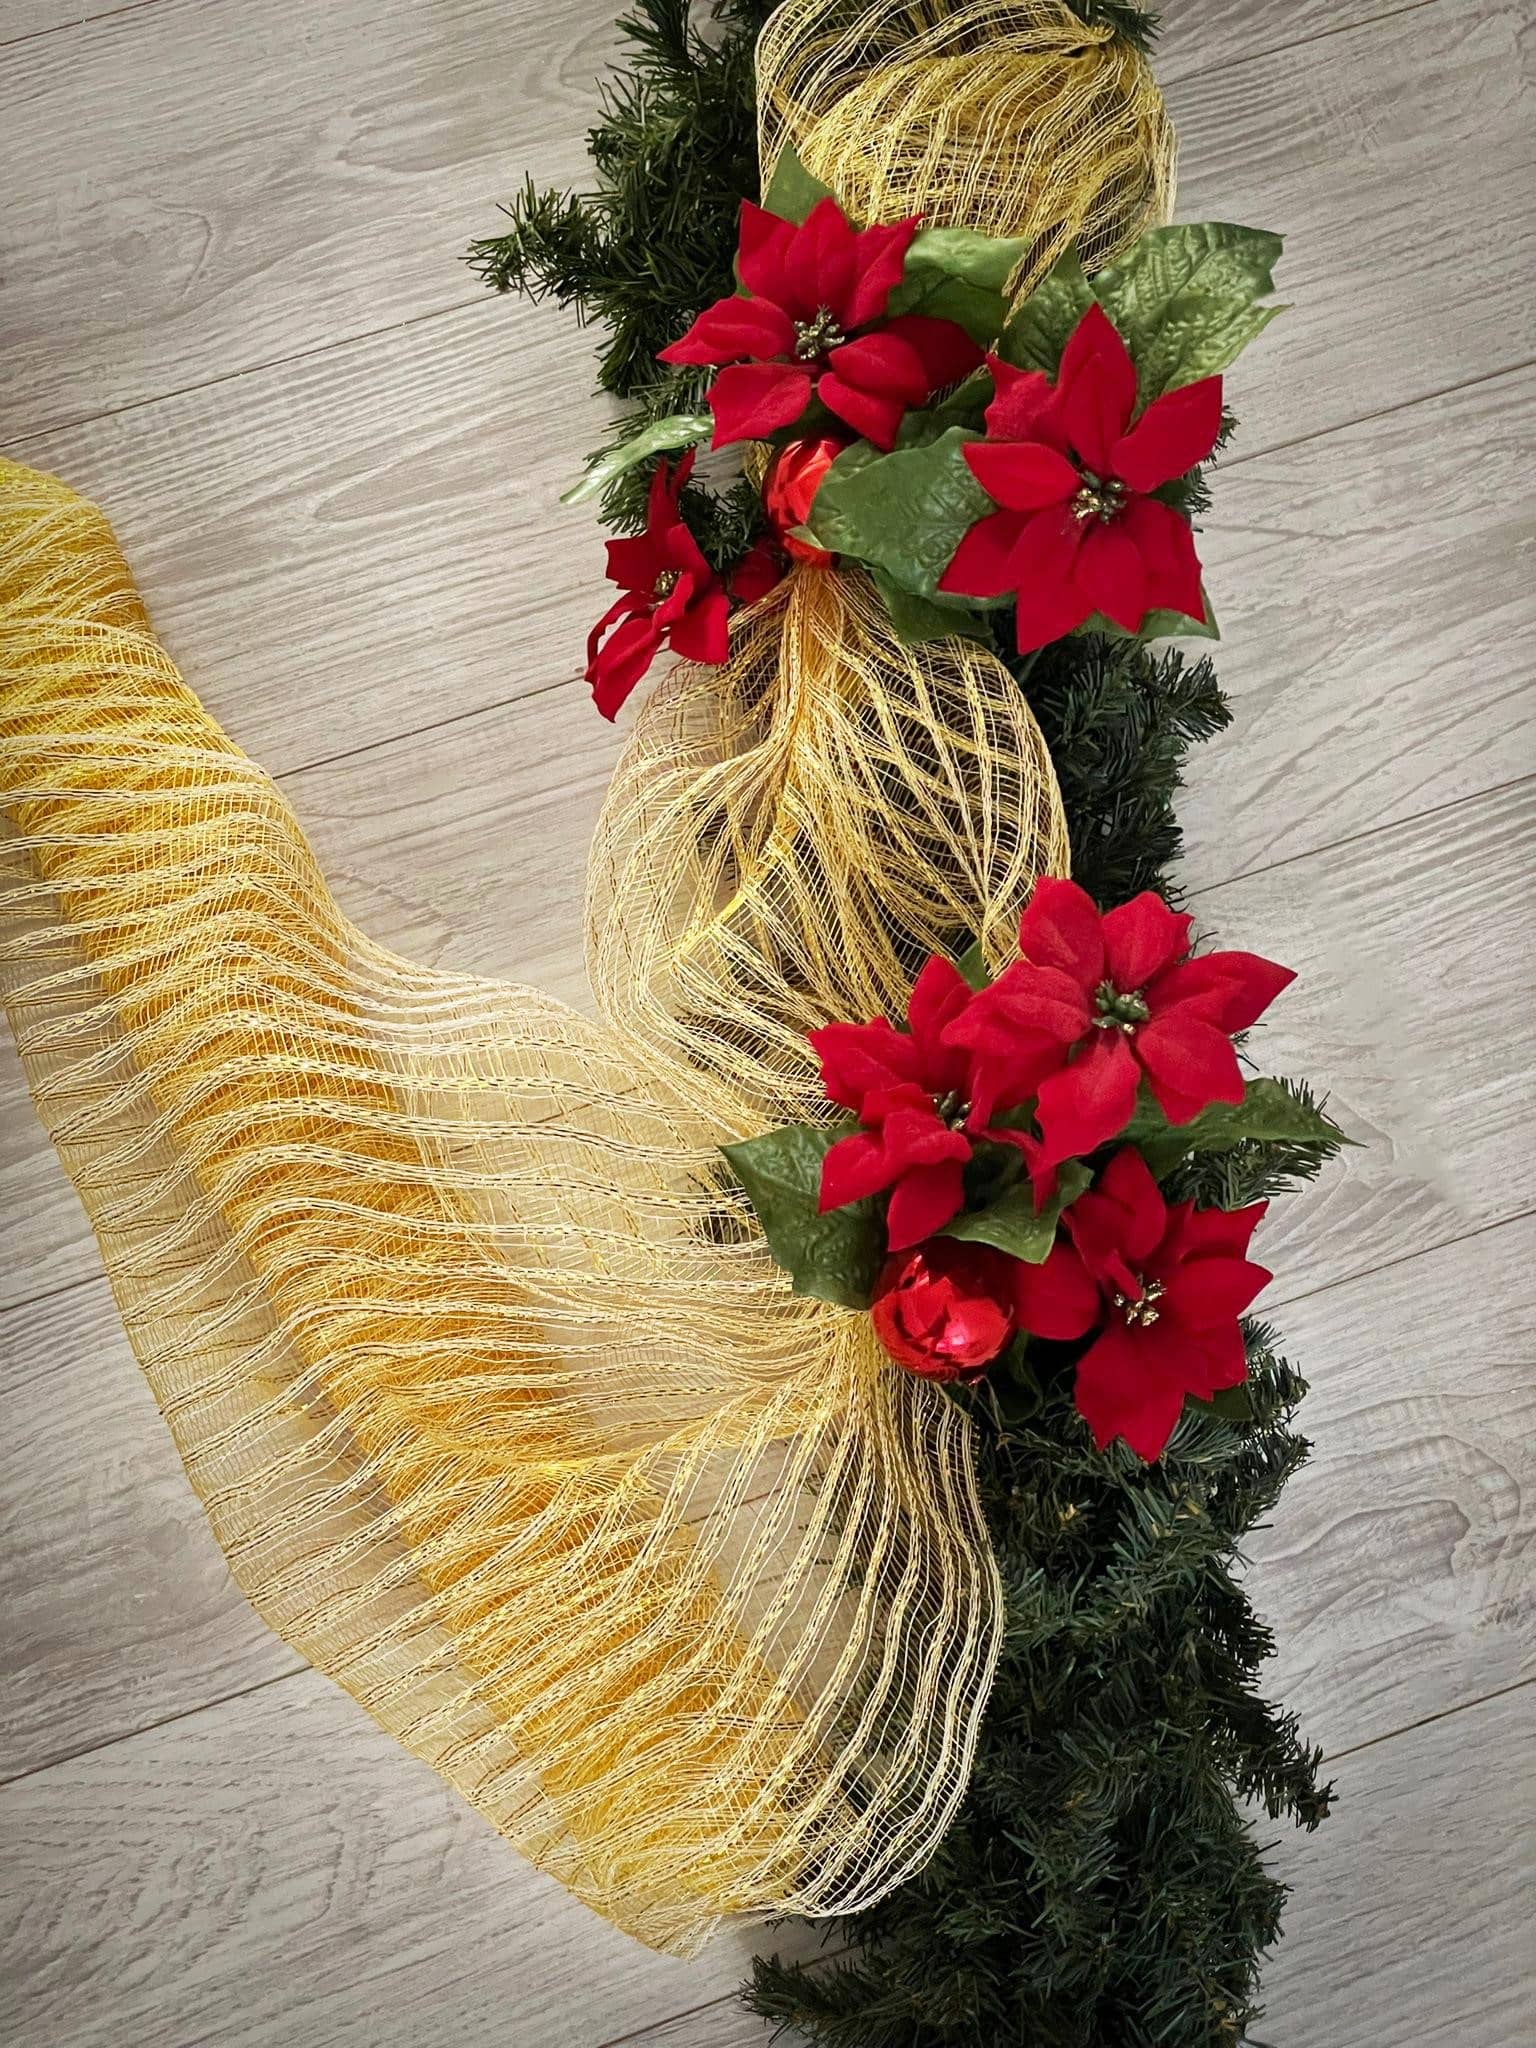
Step 2: The Ribbon

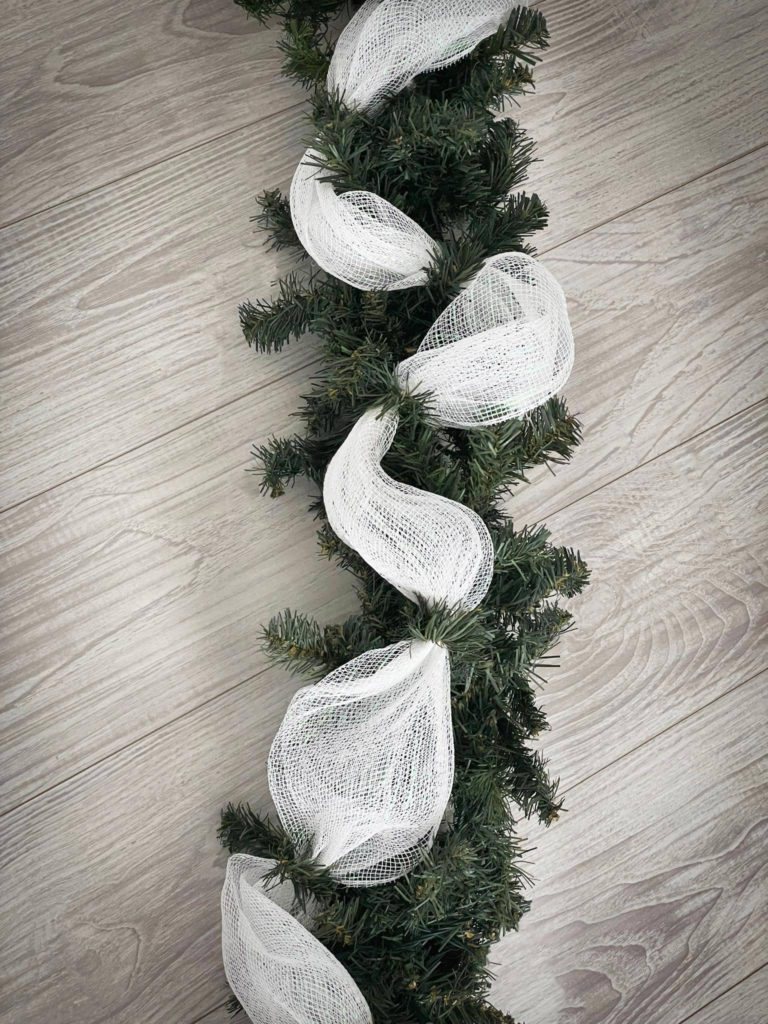
The most important element in the DIY garland process. This will be the most visible part of the piece since it will cover most of the garland.
Pick the area where you’d like to start from. Then, place the end of the ribbon and tie it to the garland with a twist tie. After doing this, take the ribbon and pull it diagonally, and tie a piece to the garland again.

The next step follows the same process, only you’ll drag the ribbon to the opposite direction of the previous one, to create a zig-zag look. Repeat this until you’ve covered the entire piece.
Step 3: The flowers
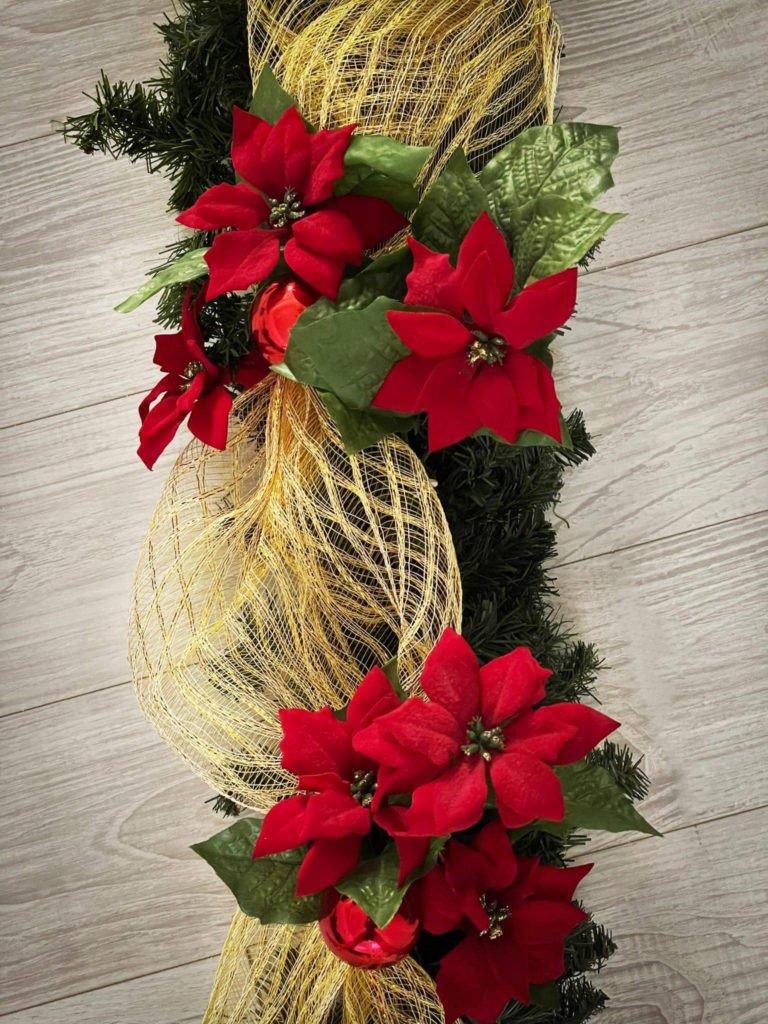
After the ribbon foundation is ready, the next step is attaching the flowers. The key to this step is creating mini bouquets. With this, you’ll be able to cover bigger areas of the garland. As far as placement, make sure to leave a space in between the bouquets, that is the same size as the floral bouquet itself. This way, the garland will have a uniform look.
Step 4: The adornments
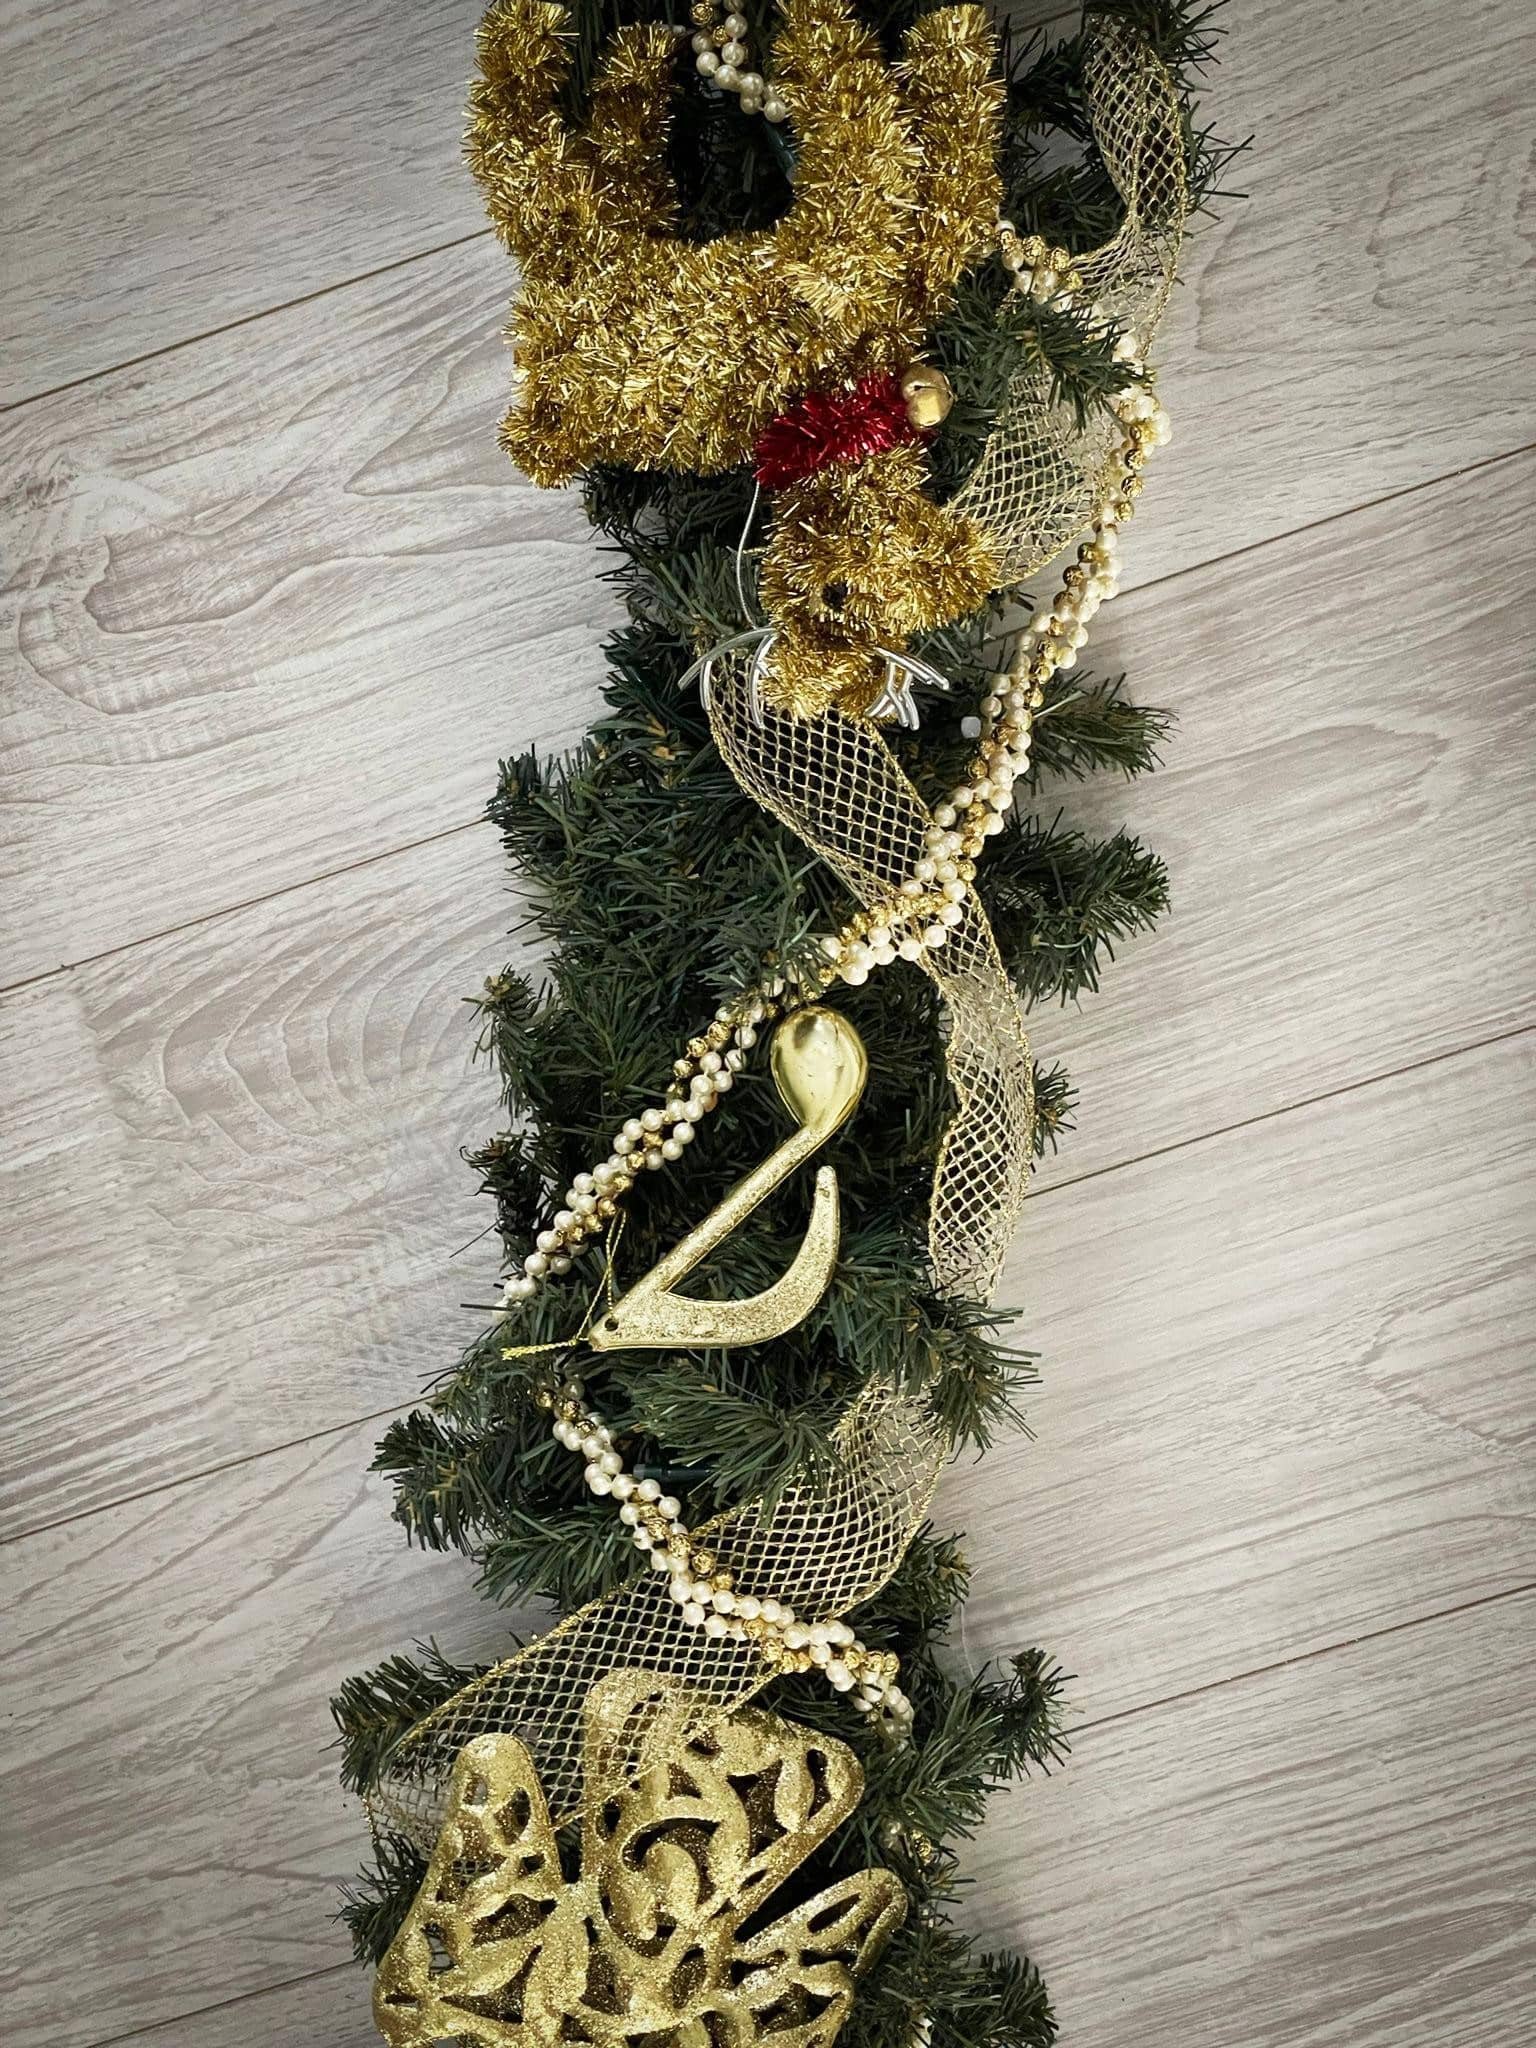
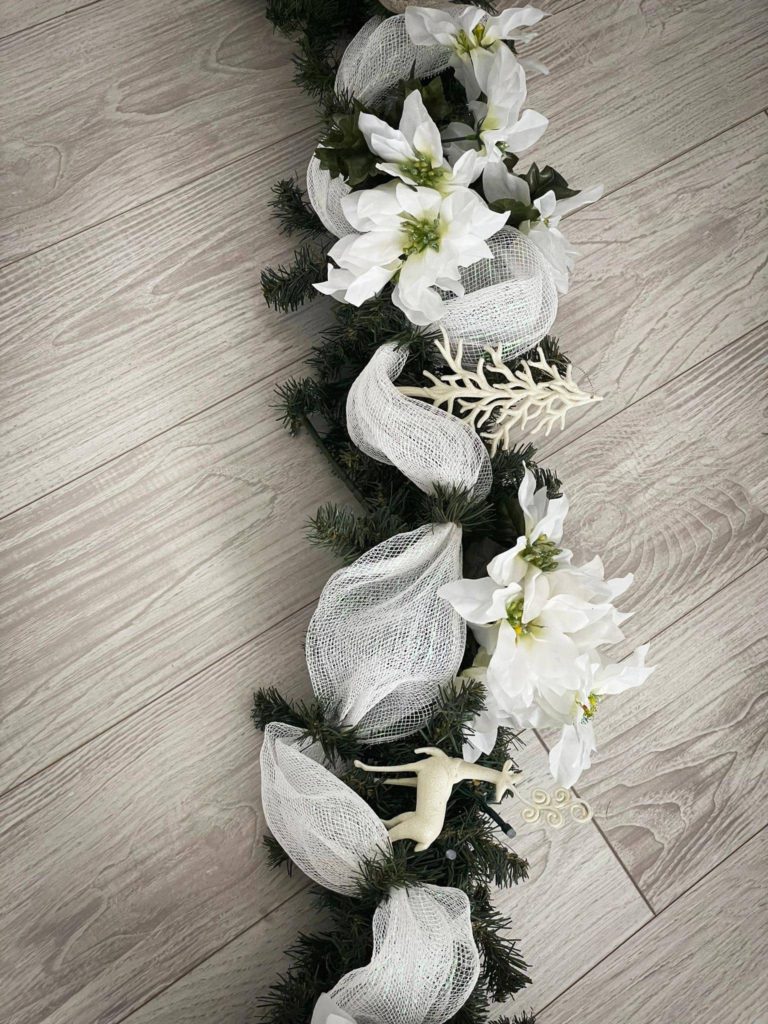
When the ribbons and the flowers are placed, it’s time for the adornments. This is the fun part! You can be as careless as you’d like, for there’s no need to follow a pattern. The only rule is to place the pieces on top of the empty spaces between the bouquets. With this, the garland will look fully decorated.
As you can see, decorating a garland doesn’t need to be a headache. No need for special tools, pliers, or hot glue, for Wepah simplified the way to do it. Not only will this save you some pennies, but it will also make for a fun family activity.